
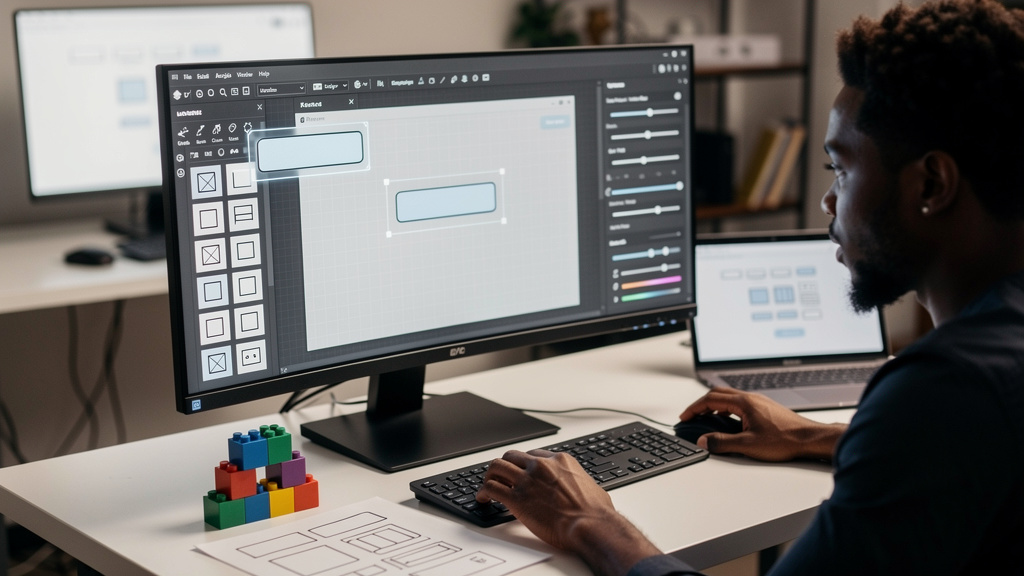
There are two ways to build a PyQt GUI. You can hand-write every line of layout code, run it, look at the result, fiddle with a stretch factor, run it again, and so on for an afternoon. Or you can drag and drop widgets onto a form, see the layout as you build it, save it as a .ui file, and load it from Python. The second way is what Qt Designer is for, and it is the kind of tool that pays for itself the first time you have to redo a menu.
The trick is knowing when to reach for it, and when to skip it.
What Qt Designer actually does
Qt Designer is a what-you-see-is-what-you-get (WYSIWYG) editor that ships with the Qt toolkit. It does not generate Python code by itself. It generates .ui files, which are XML descriptions of a form: which widgets are on it, how they are laid out, what their properties are. Those XML files are binding-agnostic, meaning the same file works whether your application is PyQt6, PySide6, or C++ Qt.
From Python you have two ways to use a .ui file:
pyuic6, a command-line tool that turns the.uifile into a Python module. You import the module and use the classes.uic.loadUi(), a function that reads the.uifile at runtime and builds the form on the fly.
Both approaches are valid. The first is faster at startup and gives you type-checked code. The second is easier to iterate on when the form is still changing. Most tutorials use loadUi() for that reason.
How to install it without going crazy
PyQt6 and Qt Designer are two separate things. PyQt6 is the Python bindings, installed with pip. Qt Designer is a desktop application. You do not need to install both through the same channel.
The shortest path on macOS or Linux is:
- Create a virtualenv (
python3 -m venv ./venv). pip install pyqt6for the bindings, which also gives youpyuic6.pip install pyside6, which bundles Qt Designer as a runnable command. You launch it withpyside6-designer.
You can also install Qt Designer through the system package manager (brew install qt on macOS, apt install designer-qt6 on Debian-based Linux) or through the official Qt Online Installer, which requires a free Qt account. Any of these work. Pick whichever one you will actually maintain.
One gotcha: in PyQt5, Qt Designer used to ship through the pyqt5-tools package. In PyQt6, that package is unmaintained and will not install on current Python versions. The pyside6 path is the cross-platform workaround.
The five template dialog and what each one is for
When you launch Qt Designer, the New Form dialog appears. It gives you five templates, and picking the wrong one costs you about ten minutes of refactoring later. Here is what they are actually for:
- Dialog with Buttons Bottom. A standard
QDialogwith OK and Cancel laid out along the bottom right. Use this for any modal interaction that is not the main window: a settings dialog, an export prompt, a confirm-and-proceed. - Dialog with Buttons Right. Same idea, buttons stacked along the right edge. Slightly more compact when the dialog is narrow.
- Dialog without Buttons. No buttons at all. Use this when the dialog has its own internal logic and the standard OK/Cancel pair does not fit the workflow.
- Main Window. A
QMainWindowwith a menu bar across the top, a status bar across the bottom, and a central widget area in between. Use this for any application that is the user’s primary window. - Widget. A bare
QWidget. Use this for custom compound widgets that will be embedded in a larger form, not for top-level windows.
A subtle but important point: the buttons in the first two templates come from QDialogButtonBox, which handles platform conventions for button order automatically. macOS puts Cancel first, Windows puts OK first, Linux depends on the desktop environment. If you do not use QDialogButtonBox, you have to handle that yourself.
The five dock windows worth learning
Once you have a form open, Qt Designer shows you five dock windows. They look like clutter on a first launch, and they are the actual interface:
- Widget Box. The palette of layout managers, spacers, and standard widgets you drag onto the form. It has a filter at the top, which is the only way to find anything once the box has more than fifty entries.
- Object Inspector. A tree view of every widget on the current form. This is where you rename things and set
objectName, which is the identifier your Python code will use to find each widget at runtime. - Property Editor. Two-column table of the active widget’s properties. Most of your time goes here: setting
text,placeholderText,minimumSize, and the dozen other properties that decide how the widget behaves. - Resource Browser. Where you load icons and image files into a
.qrcresource file that gets bundled with your application. Without this, icons have to live as loose files next to your.uifiles. - Action Editor. Where you define
QActionobjects for menu items and toolbar buttons. Actions are the reusable unit: one action can appear in a menu, on a toolbar, and as a keyboard shortcut, all driven by the same trigger.
Signals and slots without writing glue code
The single biggest reason to use Qt Designer over hand-coding is signal/slot connections. A signal is something a widget emits when something happens (clicked, textChanged, valueChanged). A slot is the function that should run in response. Connecting the two is normally a Python line:
self.button.clicked.connect(self.on_submit)
Qt Designer lets you draw that connection visually: pick the source widget’s signal, pick the target widget’s signal (for cross-widget wiring) or the target slot, and Qt Designer writes the connection line into the .ui file as a <connection> element. For trivial clicked → accept patterns, this saves nothing. For a form with eight inputs and three cross-field validation rules, it saves an afternoon.
When Qt Designer is the wrong tool
Two cases where hand-coding wins, and you should know them up front:
- Dynamic interfaces. If your form’s structure depends on data that is only known at runtime (a list of records of unknown length, a configuration-driven menu tree), Qt Designer’s static
.uifile gets in the way. Use aQFormLayoutor a programmaticQStackedWidgetinstead. - Tiny UIs. A form with one button and one label is not worth a
.uifile. The overhead of loading and parsing the XML is greater than the time saved not typing six lines of layout code.
For everything in between, Qt Designer is the right default.
Trade-offs
Every approach has a cost, and the honest call here is to use Qt Designer when the layout is the hard part of the form, and to drop down to hand-coding when the layout is trivial or dynamic.
- Designer wins on iteration speed for static layouts. You see the form as you build it, which eliminates the edit-run-edit loop.
- Designer loses on dynamic content. A
QListViewpopulated from a model is faster to wire up in Python than to define as a static.uielement. - Designer wins on signal/slot cross-wiring for forms with many fields. The visual editor beats manual
connect()calls when there are more than a few connections. - Designer loses on startup cost. Every
loadUi()call parses XML at startup. For a single form this is nothing. For an application that loads twenty forms, the cost adds up. Thepyuic6path trades flexibility for startup speed. - Designer wins on accessibility and platform conventions out of the box. The
QDialogButtonBoxand standard widgets pick up platform-native behaviour without extra work. - Designer loses on version control diffs. Two developers editing the same
.uifile in Designer will produce XML diffs that are hard to review. Treat.uifiles as merge-conflict-prone and assign ownership.
The instinct is to pick one approach and stick with it. The reality is that most non-trivial PyQt applications end up using both: Designer for the static main windows and dialogs, and hand-coded layouts for dynamic content and custom widgets. The two compose cleanly because the .ui file is just XML that loadUi() reads at runtime. A QWidget built in Python and a QWidget built from a .ui file have no idea they came from different places.
What to take away
If you have never used Qt Designer, the fastest way to feel its value is a small experiment. Build a form with a menu bar, a toolbar, and three input fields. Connect the toolbar’s Save action to a slot that prints the field values. Then rebuild the same form by hand in Python. The hand-coded version will take about three times as long and the layout will be harder to tweak. After that, you will know when to reach for it.