
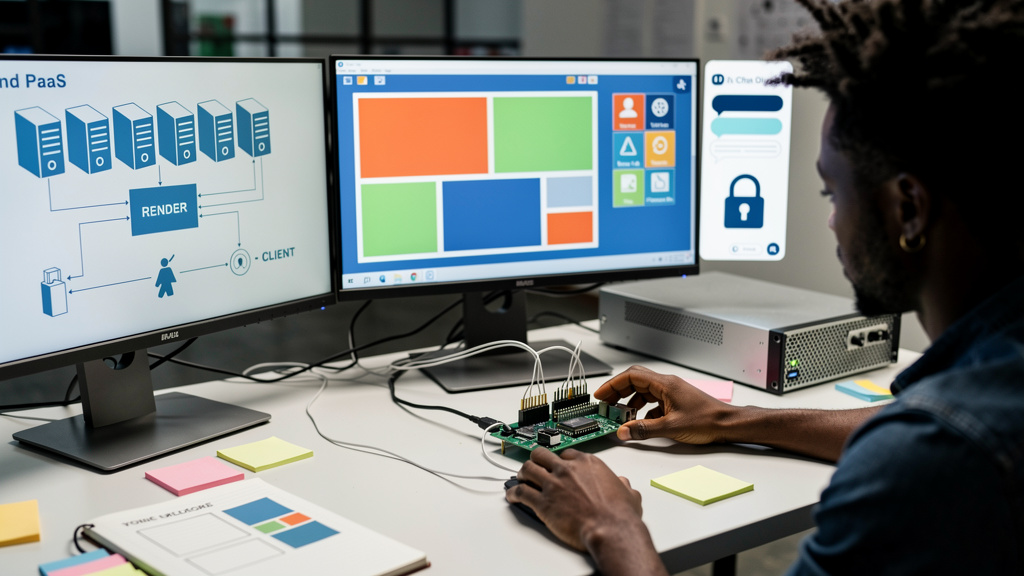
I bought a $5 microcontroller on a lark and ended up with a working desktop environment inside a terminal window. The board is the size of a postage stamp, runs on two AA batteries if I am patient, and yet it boots into a graphical shell where I can drag windows, edit files, and run shell commands. That sentence is not an exaggeration, and the project that makes it possible is one I have not seen anyone else talk about in the same breath as proper “hacker” projects.
The project is called TinyDesk, and what surprised me was not the wow factor but the architecture. Understanding how it works before you flash anything changes how you feel about the whole idea.
The chip is the computer and your laptop is the monitor
TinyDesk does not borrow any cycles from your laptop. The chip itself is the computer, and your machine is only there to render what arrives over the wire. The connection is plain ASCII text using the same escape sequences (ANSI and VT codes, the control characters that terminals interpret as cursor moves, colour changes, and redraw commands) that have been in terminals since the 1970s. Your mouse and keyboard inputs travel the other way. There is no hidden app on your PC, no virtual display server, no cloud sync. Open a serial terminal, type the right command, and the desktop renders.
I like this architecture because it pulls no tricks. The whole system is a microcontroller pretending to be a 1990s desktop, and a terminal pretending to be a display. The trick is mostly in how cheap both pieces of that illusion have become.
What I actually do inside that little desktop
The first time I opened TinyDesk I expected a demo, not a usable interface. After an hour I had a text file open in the on-chip editor, a second window showing the board’s CPU usage, and a third window running a Python script over MQTT (a lightweight publish-and-subscribe protocol common in home sensor networks) that was reading from a temperature sensor on my desk. None of those windows were very fast. All of them were actually working.
What I found came as a pleasant surprise.
- Windows that move and resize, controlled by keyboard shortcuts.
- A taskbar at the bottom and a simple start menu.
- A file manager for browsing the chip’s flash storage.
- A small text editor that opens, modifies, and saves files.
- A working shell, so you can run the same commands you would in any terminal.
- A live view of CPU load and free memory.
- Bundled helpers for talking to MQTT brokers and Modbus devices (a serial protocol used widely in industrial sensors).
The shell turns out to be the headline feature. Once you have a working shell on a board that fits on your desk, the workflow stops feeling like a demo and starts feeling like a real tool.
What the project will not do, even with patience
I want to be candid about the hardware ceiling. The ESP32 has roughly 320 KB of working memory and a dual-core CPU running at a fraction of a gigahertz. Animations will look like they were rendered in software because they were. Window dragging is closer to a 1995 VCR menu than a modern desktop. The text editor is functional, not glamorous. If you want a real workstation, plug in a real workstation.
There is also the cost of getting started. The community around ESP32 development assumes you can compile firmware, copy it to a board over USB, and read a project README (the instruction document, typically a Markdown file at the top of the GitHub repo) without being walked through every step. If those are second nature, plan for an hour. If they are new, plan for a quiet afternoon and a coffee.
The privacy angle is the part I keep coming back to. Because everything runs on the chip itself, the board does not phone home. There is no vendor account, no usage telemetry, no sign-in screen. It is the opposite of every cloud-dependent tool I own, and that is a feature I want to preserve.
Two ways to try it, depending on what you already live in
The project ships in two flavours. The first is the full graphical desktop, which is the version everyone screenshots. The second is a shell-only mode called TinyDesk Shell, which strips the GUI and gives you the enhanced command-line environment without the overhead of rendering windows on a chip that was never designed for it.
If you are already a terminal person, start with the shell. You get the same workflow improvements without the visual overhead. If you are a GUI person, start with the desktop, get the novelty out of your system, and then decide which one you actually use.
A few practical recommendations if you do try it.
- Pick a board with enough flash storage. The README lists the models that have been tested.
- Mind the baud rate (the speed at which the serial connection exchanges characters with the chip, in bits per second; 115200 is a common default) the first time you connect. Wrong baud rate is the number-one reason the terminal output looks like static.
- Back up the stock firmware before you flash TinyDesk. Reverting later is easy if you keep a copy.
- Use the shell variant on the first day. Move to the desktop once you know which shortcut keys you actually like.
- Resist the urge to compare it to a Raspberry Pi. They serve different purposes.
Where this lands after a month of using it
A month in, what I actually use is the shell. The desktop is the showpiece I show off to anyone who visits, and the shell is what I open when I want to read the temperature logs from the sensor on my desk or edit a config file on the board itself. Both run on hardware that costs less than a sandwich.
The project is not for everyone. If you have never touched an ESP32 board, the learning curve is real, and you will spend the first hour on setup before you see anything that looks impressive. If you have flashed boards before, this is one of the cleanest weekend projects I have seen in a long time, and the source code is small enough to read in an evening.
The real surprise was how much I use the shell mode. I expected the desktop to be the story, and instead the shell became the workhorse.
Trade-offs
TinyDesk is not free in time. The setup cost is real, especially on the first board you flash it onto. Budget an afternoon for the very first install and another afternoon to learn the shortcut keys if you use the desktop heavily. The hardware ceiling is also real, and you should not pretend a five-dollar chip will replace a Raspberry Pi for any meaningful workload.
In our case, the project is worth it for the workflow. Being able to edit a config file on the chip without bouncing between a serial console and a separate editor has saved real hours over the last month, and the desktop mode is a fun way to demonstrate what a microcontroller can actually do. For a homelab person who already owns a few boards, this is a clear weekend win.
The migration took about an hour on a board I had flashed before, and a full afternoon on the first board I tried. The thing that was harder than expected was the serial terminal configuration: not every terminal emulator handles the escape codes at the same speed, and a couple of them stuttered visibly when the desktop redrew. The thing that was easier than expected was the firmware flash itself, which the project documents in clean steps.
If you have flashed an ESP32 before and you want a project that pays you back in saved context-switching, this is the project to try. If you are new to microcontrollers, start with a simpler blinking-LED project first, and come back to TinyDesk once you are comfortable with the toolchain.
If you only do one thing from this article, install the shell variant on a board you already own and try editing a file inside the on-chip filesystem. Once you see it work, the desktop version becomes the obvious next stop, and the rest of the project sells itself.