
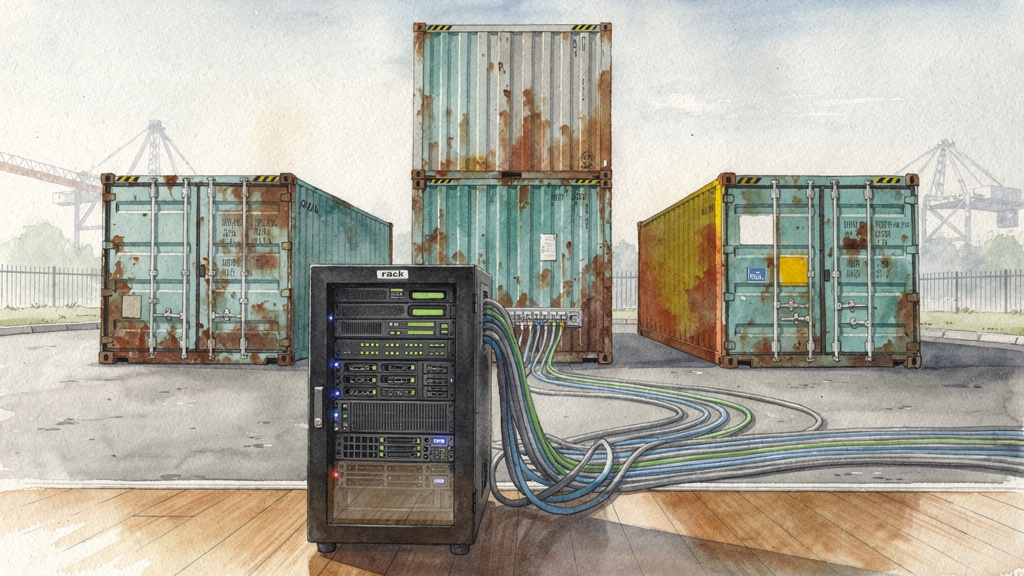
I run a homelab with a Proxmox cluster (a setup where Proxmox, an open-source virtualization platform, lets one physical machine run many virtual machines and containers as if they were separate servers), six services I rely on daily, and three more I keep around for testing. Two years ago the homelab felt like a homelab. The applications were crashy, the certificates kept expiring, and I had no idea what was running on which port. Today the same hardware feels like a small production environment. The difference is not the hardware. The difference is three Docker containers (Docker is a tool that packages an application and everything it needs to run into a single, portable unit called a “container,” so it behaves the same on any machine) that I added in the last eighteen months, in roughly this order.
1. Caddy with the DNS challenge
The first container I added was Caddy, a small web server that automatically provisions and renews HTTPS certificates from Let’s Encrypt (a free, automated service that issues the security certificates websites need to encrypt traffic). I had been running Nginx (a popular, lightweight web server) for years and the experience was, on paper, fine. In practice, I spent at least one weekend a year chasing down certificate renewals, debugging the acme.sh (a shell script, a program you run from the command line, that automates certificate renewal) cron job (a scheduled task that runs automatically on a timer), or restarting services after a cert expired and the renewal silently failed.
Caddy replaces the entire stack. You give it a domain name. It talks to Let’s Encrypt over DNS (the Domain Name System, the internet’s phone book that turns names like homelab.example.com into IP addresses) using a DNS challenge (a way of proving you own a domain by adding a special record to its DNS settings, instead of leaving a file on the web server) instead of an HTTP challenge, which is the standard for getting a free certificate. It handles the renewal. It handles the key rotation. It restarts the upstream services when a cert changes. You write a Caddyfile (a plain-text configuration file that tells Caddy which domains to serve and where to send the traffic) that looks like a routing config, not a pile of certificate plumbing.
homelab.example.com {
    reverse_proxy 10.0.0.10:8080
}
That is the entire config for one service. Caddy took a problem I had been managing manually for six years and turned it into a single line of config per service.
Dynamic service discovery is the one place Caddy stumbles. If you are running 30 short-lived services, you do not want to hand-write a Caddyfile for each. For a homelab with a stable set of services, though, this is a non-issue.
2. Uptime Kuma
Uptime Kuma, a self-hosted monitoring tool that pings your services on a schedule and tells you when they go down, was the second container I added. I had been using a hosted status page service for this, paying about $20 a month. Uptime Kuma is a single Docker container, a small web UI, and a database. It took me twenty minutes to set up. The hosted service is gone.
The features I use most are the obvious ones: HTTP (web), TCP (raw network connection), and ping checks on a configurable interval, with a status page I can share with the people in my house. I also use the less obvious ones. Uptime Kuma can monitor a DNS record, a Docker container’s health check, a Steam game server query, a Postgres database, an MQTT broker, and a Telegram bot’s getUpdates endpoint (a URL you can poll to retrieve new messages sent to your bot). The Telegram integration alone has paid for the time I spent setting it up. When my reverse proxy goes down at 2 AM, I know about it on my phone before I would otherwise know about it the next morning.
Multi-region checks are where Uptime Kuma falls short. If you only have one homelab, you are checking from one place. If your network goes down at home, Uptime Kuma reports everything as down, including the things that are actually fine. For a homelab this is fine. For a business, you would want synthetic monitoring (automated tests that simulate user actions from multiple geographic locations) from at least two vantage points.
3. Homepage by gethomepage
Homepage is the third container, and the one I get the most questions about. It is a self-hosted dashboard that shows you, in one place, what is running on your homelab, what its current status is, and how to get to it. It is a single static page that pulls from a configuration file. Every service on my homelab has a card. The cards show: a name, an icon, a link, and either a status indicator or live data.
Here is the kind of thing that lives in my dashboard:
- Plex (media server): a card with the current number of active streams
- Sonarr (a tool that automatically finds and downloads TV shows): a card with the queue size
- Pi-hole (a small server that blocks ads for every device on your home network): a card with the percentage of DNS queries blocked today
- Uptime Kuma itself: a card with the overall status, plus a status page link
- The NAS (network-attached storage, a dedicated file server on your network): a card with disk usage and free space
- Grafana (a dashboard tool for charts and graphs): a card with a deep link to a specific dashboard
- Three more services I use less often
Homepage is what I open when I sit down at the computer. I do not have a bookmarks bar full of internal URLs. I do not have to remember which port Grafana is on this week. The dashboard is the bookmarks bar.
The thing Homepage does not do well is authentication. There is no built-in access control. If you want the dashboard to be private, you put it behind your reverse proxy and you put authentication in front of it, which is what I do. If you want a public dashboard for a community project, the same approach works.
How the three containers fit together
These three containers do not exist in isolation. The reason the homelab feels production-ready is that they share data with each other. Caddy terminates TLS (Transport Layer Security, the protocol that encrypts web traffic), so every service behind it is reachable on a normal https:// URL with a real certificate. Uptime Kuma watches every service, including the others, and reports status to a Telegram bot. Homepage links to every service by its real URL, and shows the Uptime Kuma status, and gets its own certificate from Caddy. The whole thing is a small graph of three services and the rest of the homelab, with no manual certificate management, no manual status checking, and no manual bookmarking.
If you are starting a homelab, do not start with all three at once. Start with Caddy. Once your services are reachable on real URLs, add Uptime Kuma so you know when they break. Once you have more than four services, add Homepage so you can find them. In that order.
Trade-offs
Self-hosting these three containers means I am now responsible for keeping three services up. Caddy is the load-bearing one (if Caddy goes down, every service is unreachable from outside my network), so I back up its config and its certificate directory. Uptime Kuma is the second-most-load-bearing (if it goes down, I do not know about the others), so I run it on a different physical machine than the services it watches. Homepage is the least critical (if it goes down, the rest still works) but I keep its config in git (a version control system that tracks every change to a set of files) so a fresh install is a single git pull away.
There is also the operational cost of running three more things. Three containers is not a lot, but the homelab tends to grow. Every time I add a service I have to add a Caddy entry, a Uptime Kuma check, and a Homepage card. For a service I am not sure I will keep around, I skip the Homepage card. For a service I am pretty sure I will keep, I do all three. The dashboard discipline is what keeps the homelab from becoming a junk drawer.
The hosted alternatives are also worth considering. A status page service for $20 a month is not a lot of money, and a managed reverse proxy is a real product. If you do not want the operational overhead, pay for the managed version. I run the self-hosted versions because I enjoy the work and because the data lives in my house, but that is a personal preference, not a moral position.
Bottom line
If you have a homelab that feels like a homelab, the fix is not better hardware. The fix is Caddy for HTTPS, Uptime Kuma for monitoring, and Homepage for navigation. They are three Docker containers. They take a weekend to set up, another weekend to integrate, and after that the homelab behaves like the kind of system you would actually trust with real work.
If you only do one thing from this article, set up Caddy with the DNS challenge. The certificate plumbing is the part of the homelab that most often turns into a 2 AM incident. Caddy makes it boring. Boring is the point.