
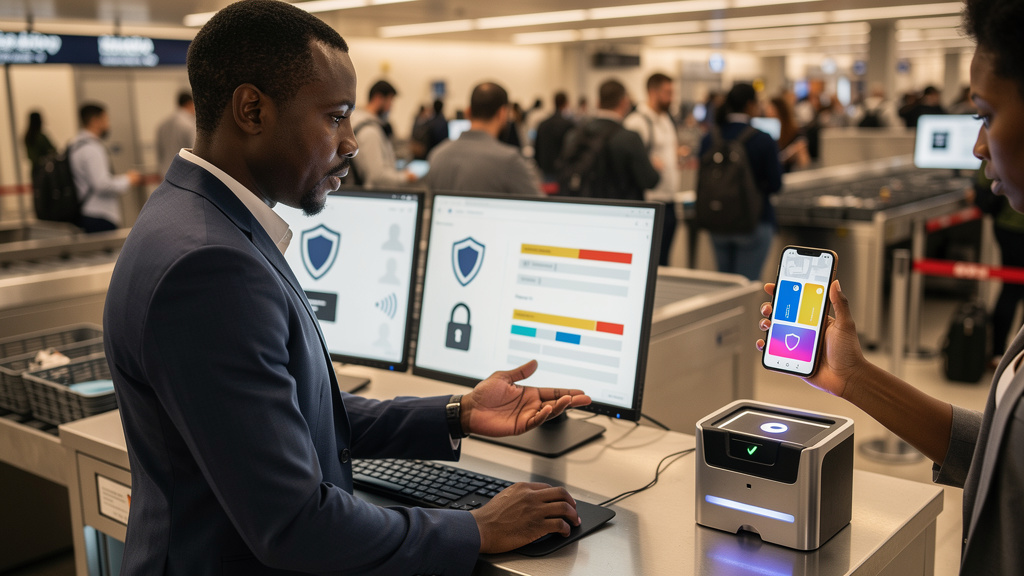
I fly maybe four times a year, and every trip has the same ten-minute friction at the TSA PreCheck line: dig out the boarding pass, dig out the driver’s license, scan the boarding pass, hand over the ID, get the nod, put everything back. The new Touchless ID setup in Google Wallet removes most of that. I tried it on a recent round trip and came away mostly impressed, with one footnote about coverage I should have checked first.
Touchless ID is the facial recognition lane at TSA PreCheck. You have been able to use it for a while, but only on a small set of airlines, and only if you opted in through that airline’s app. The Google Wallet change is that you set it up once in your phone, and it works across any of the participating airlines. The setup uses your passport as the source of identity, so you do need a passport for this path. A driver’s license alone is not enough.
How the setup actually works
The first step is creating an ID pass from your passport inside Google Wallet. Tap Add to Google Wallet, then ID, then ID Pass, then Continue. Pick the region your passport was issued in, then scan the passport’s photo page and the chip embedded in the cover. The phone will also record a short video of your face for verification. That step took me about three minutes at my kitchen counter.
After the ID pass is approved, you do the usual flight check-in through your airline. When you save the boarding pass to Google Wallet, you will see a Get Started button on the pass if Touchless ID applies to that flight. Tap it, agree to share the ID pass and the boarding pass, and the system completes the enrollment. Your pass now shows a small Touchless ID icon. That icon is the only signal at the airport that you are eligible for the lane.
The good news: once enrolled, you stay enrolled. I checked in for two different airlines across a month and the pass carried over. The bad news: Touchless ID coverage is limited to specific airlines and specific airports, and not every PreCheck checkpoint has a dedicated lane.
What changes at the checkpoint
The Touchless ID lane is separate from the regular PreCheck line. You walk up, look at the camera, the system matches your face to the enrollment, and you go through. No driver’s license, no passport, no boarding pass in hand. The camera is the only verification.
In practice, it was faster than the regular PreCheck lane for me, mostly because everyone in the Touchless ID line was already past the ID check. The downside is that the line can back up if the camera system misreads someone, and a misread means a re-scan or a fallback to the regular lane with the ID pulled out anyway. I saw one of these re-scans in front of me, and the agent handled it in under a minute.
A second thing I did not expect: the Touchless ID lane is sometimes in a different physical location from the regular PreCheck lane. The signage at my home airport was clear. At my destination it was not. If you do not see the lane, ask. It is not always obvious where it lives in the terminal layout.
Who this works for right now
As of late June 2026, the participating airlines are American, Alaska, Delta, Hawaiian, Southwest, and United. If you fly any of those carriers and you have a passport, the setup is straightforward and the gain at the checkpoint is real. If you fly other carriers, you can still set up the ID pass, but the Touchless ID lane will not be available on those flights.
You also need a phone with Google Wallet. That means an Android device. iPhone users can use Apple Wallet for a similar flow, but that is a separate setup with its own coverage list. The Google Wallet side is Android only.
A second constraint is the passport. If your passport is more than ten years old, or if it is a child’s passport, the system may not accept it. The wallet app will tell you at setup time, so you find out before you get to the airport.
Trade-offs
Touchless ID is not free in trade-offs. Coverage is the first one. You cannot use it on every airline, and not every airport has the lane, so you need to check before assuming the faster path exists. Setup time is the second. The first enrollment took me about ten minutes including the passport scan and the face recording. That is a real cost the first time, and it gets shorter on re-enrollment if you ever have to redo it.
Privacy is the third. You are agreeing to share your boarding pass and your ID pass with TSA every time you go through the line. The data is governed by TSA’s published retention rules, not Google’s, and the biometric match happens at the camera, not on your phone. That is the standard arrangement, but it is worth knowing before you opt in.
The migration from “regular PreCheck with ID in hand” to “Touchless ID with face only” took me one airport visit. The first-time setup is the only slow part. After that, the per-trip change is small, and the line moves faster.
If you fly the participating airlines regularly and you have a passport, this is a clear win. If you fly once a year on an unsupported airline, skip it.
What I would tell past me
Three things I would have wanted to know before I started the setup:
- Check airline coverage before you do anything. If your main airline is not on the participating list, the setup still works but the lane will not be available. There is no in-app signal that tells you this up front.
- Do the setup at home, not at the airport. The passport scan and face recording need a stable surface, decent light, and patience. Trying to do it in a terminal will eat more time than it saves.
- The ID pass and the boarding pass are separate artifacts in Google Wallet. The Touchless ID icon shows on the boarding pass, but only after the ID pass exists. If you do not see the icon, the ID pass is probably not set up yet, and the fix is to go back to the Add to Google Wallet menu and start it.
Before you start the enrollment, run through this short checklist so you do not get stuck mid-setup:
- Passport is in date. If the expiration is within six months, renew it first. The wallet app rejects expired or near-expired passports.
- Phone is on a stable Wi-Fi or has good cellular. The first ID pass download pulls the passport chip data over a verified channel and times out fast on weak connections.
- Front camera works. The face recording step needs the front-facing camera, and a dirty or cracked lens will fail the verification.
- Battery is above 50%. The setup is not allowed to finish below 20%, and the warning shows up late in the process. Charge first.
Bottom line: if you have a passport, an Android phone, and a PreCheck enrollment, set up Touchless ID in Google Wallet before your next trip. The setup takes ten minutes at home, the lane is faster than regular PreCheck, and the per-trip savings compound across a year of flying.