
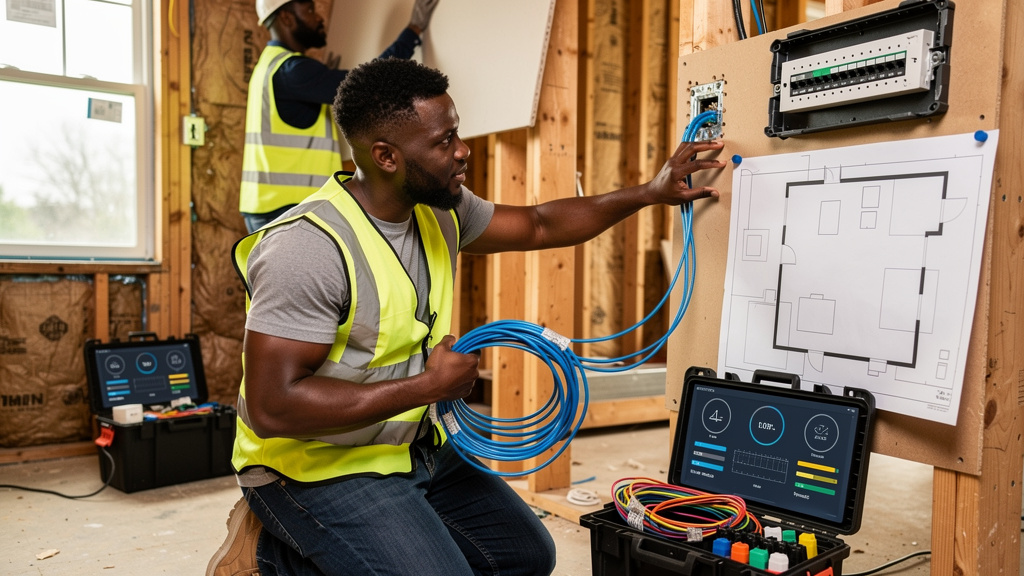
When the walls are open and the drywall is weeks away, a Cat6 wiring job looks like a weekend project. The work itself is not hard. The hard part is that almost every decision made during that week is permanent once the drywall goes up. A second cable behind a TV plate costs nothing on day one and a contractor visit on day three hundred. A Cat6 run that should have been Cat6A cannot be upgraded without opening a wall.
This is a build-order guide for the operator who has decided to wire their own home. The point is not to talk anyone out of doing it. The point is to surface the five decisions that get made once and lived with for a decade, in the order they have to be made.
Cable choice comes first, and the cheap answer is usually right
Cat6 is the default cable for home wiring, and the default is the right answer for most runs. It supports one gigabit to a hundred meters, which covers every modern home network need that matters today. Cat5e is older and a hair slower. Cat7 and Cat8 are server-room overkill. The cost difference between Cat5e and Cat6 is small enough that there is no good reason to buy Cat5e in 2026.
The decision worth pausing on is Cat6A. Cat6A is the heavier sibling of Cat6. It supports ten gigabit to the full hundred meters, where Cat6 supports ten gigabit only across shorter distances (around fifty meters in practice). Cat6A costs more per foot and is stiffer to bend, which makes for slower pulls through tight corners. The trade-off only matters on the handful of runs that carry the most weight: the office uplink, the rack feed, and the wall behind the main television. On every other run, Cat6 is fine and easier to work with.
The one piece of the network that cannot be upgraded without opening a wall is the cable. Everything else (the switch, the access points, the router) can be swapped in an afternoon. Run the heaviest cable on the runs that are hardest to re-pull, and save money on the rest.
Run more than you think you need
Every drop behind a TV is a candidate for two cables. Every drop near a desk is a candidate for three. The marginal cost of a second cable is small: a few extra feet off the spool, a few extra minutes of pull time, and one extra keystones per drop. The labor of opening a wall to add a second cable later is not small.
The cases where a second cable pays for itself within the first year are predictable. An access point wants its own wired feed in addition to the device it is serving. A streaming box and a game console sit behind the same TV and both want wired connections. A run that failed its certification test would have been caught earlier if a spare had already been sitting in the wall.
The trap is overcorrecting. Running eight cables to a corner that holds one device is a waste of cable, a waste of termination time, and a tangle at the rack that the operator will have to trace and label later. The right answer is two cables to almost every drop, and three to the spots that already host more than one wired device.
Buy the real tools before cutting a single cable
The kit needed for a whole-home Cat6 wiring job fits in a single tool bag and costs less than a contractor visit. The list is short:
- A ratcheting crimper for the RJ45 ends (the clear plastic plugs that clip onto the end of each cable). Side cutters and a pair of pliers will physically make a plug, but the result will fail testing more often than not.
- A cable stripper sized for the jacket of the cable being used. Side cutters will nick the inner conductors, and a nicked conductor is a run that fails certification.
- A punch-down tool for the keystones (the wall-side connectors that the patch cables plug into). A small flathead screwdriver will seat the wires, but it will also cut them at the wrong angle and leave the run unreliable.
- A real cable tester. Not a continuity tester. A real tester walks all eight conductors, confirms each one lands on the correct pin of the keystone, and reports the result in plain English. The cheap continuity testers that come in a kit with the crimper only confirm that current flows end to end; they say nothing about whether the current is on the right wire.
- A bag of spare RJ45 ends and keystones. Some will be wasted on the first attempt. That is the point.
- Fish tape (a stiff steel or fiberglass wire used to pull cable through finished walls and tight cavities) and a roll of electrical tape for the ends of the pull.
The temptation is to start with what is on hand and buy the rest of the kit as the problems come up. That approach works for a single drop. For a whole house, the cheap toolkit turns every step into a workaround, and every workaround becomes a cable that fails testing six months later.
Test every run as it goes in the wall
A run that fails testing after the drywall is closed is a run that has to be re-pulled. A run that fails testing before the drywall is closed is a run that takes ten extra minutes to fix. The math is straightforward.
The test is fast. Plug the master end of the tester into the keystone at the wall. Plug the remote end into the corresponding jack at the rack. The tester walks every conductor and reports the result in five seconds. A green pass on every wire means the run will carry its rated speed. A red fail on any wire means one of three things: a conductor landed on the wrong pin, a conductor was nicked during stripping, or a keystone was seated badly. All three are easy fixes when the wall is still open.
The second test worth running is the rated-speed test. Most mid-range testers will confirm that the run actually holds its rated gigabit or ten-gigabit speed across the full cable length. A continuity tester cannot tell you that. A continuity tester can tell you that the wires are connected. It cannot tell you whether the connection is fast enough.
Skipping this step is the single most expensive mistake in a whole-home wiring project. The runs that pass the wall-closed test will be invisible. The runs that fail will be the ones you spend a Saturday chasing.
Label everything, at both ends, before the wall closes
A bundle of identical blue cables hanging behind a rack is not a wiring job. It is a future Saturday afternoon the operator has not yet had to spend. The fix is one piece of tape and a Sharpie on each end of every run, written before the wall closes.
The labels do not have to be pretty. A piece of blue painter’s tape with “Office” or “Bedroom 3” written in marker, stuck six inches back from the end of the cable, is enough. The important thing is that the operator can stand at the rack and tell which cable is which without a continuity tester and without pulling each one to see where it goes.
The companion trick is to take a phone photo of the wall-side keystone after each cable is terminated, with the label visible in the frame. Months later, when a device stops working and the operator is trying to figure out which wall jack it is plugged into, the photo will save an hour. The rack-end photo is equally worth taking.
Labeling the obvious drops is tempting, and skipping them is the trap. The drops that get skipped are exactly the ones the operator will not remember six months later. Label every drop, on both ends, every time.
Trade-offs
The decisions above are not free, and the order matters more than the contents.
- Cat6A on the heavy runs costs more per foot and pulls harder. The savings of Cat6 on the long secondary runs are real, and worth taking. The cost of Cat6A on the three runs that matter is also real, and worth paying.
- Pulling two cables everywhere doubles the per-drop cable cost. It does not double the labor. The labor is dominated by the walk to the wall and the time at the rack, both of which happen once per drop regardless of cable count. The cable is the cheap part.
- The real tool kit costs more than the crimper-and-tester starter kit. The starter kit is fine for one drop. For a whole house, the real kit pays for itself in time saved on the first day of work.
- Testing every run adds a few seconds per drop. A whole-house job gains maybe twenty minutes of testing time. The cost of skipping the test is a re-pull after the drywall closes, which costs a whole day and a contractor.
- Labeling everything takes a few seconds per drop. The cost of skipping the label is an afternoon at the rack, six months later, with a continuity tester and a bad mood.
The order is the trade-off that matters most. Buy the tools first, pick the cable second, run extra cables third, test every run fourth, and label everything last. Reverse any of those steps and the cost of the mistake grows by a factor of ten.