
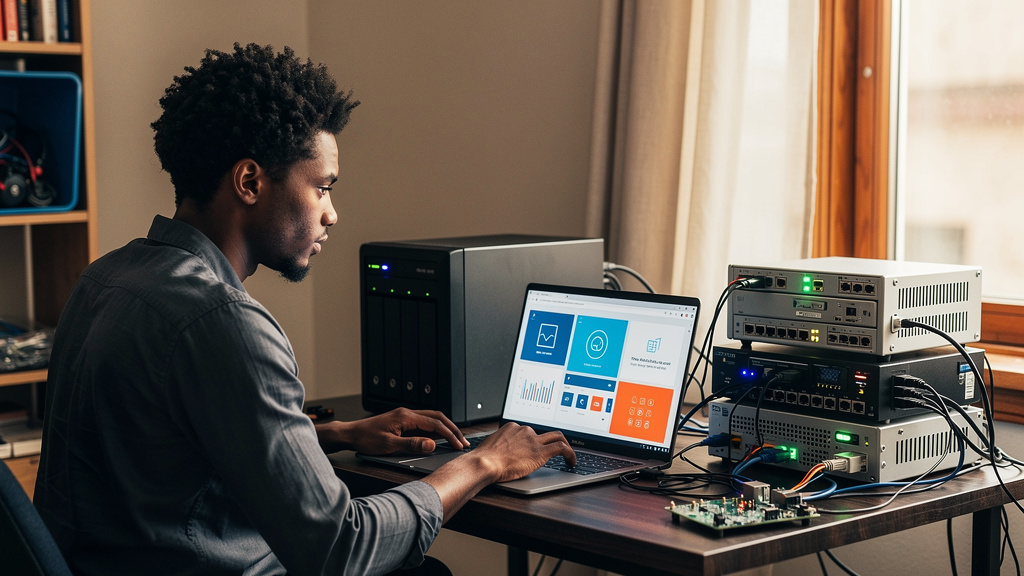
When my main desktop graduated to a newer AMD chip, I did not throw the leftovers away. I put them in a basket, looked at the pile for a week, and then spent a weekend turning them into the box that now runs my media library, blocks ads across the whole house, and hosts the small collection of side projects I used to pay monthly fees for. Total new spend was about $200. The bigger payoff was what I learned about my own infrastructure by wiring it up by hand.
This is not a guide to building the fastest home server. It is the story of why the slow route taught me more than any pre-built box would have, and what I would change if I did it again.
Why the slow route is worth it
A friend asked me last month why I do not just buy a Synology. The honest answer is that I have nothing against those boxes. They are quiet, the web UI is polished, and the disk configurations are battle-tested. The reason I went the other way was that I wanted to know my own infrastructure.
When something breaks on a pre-built NAS, you have two choices. You can dig through support threads and hope a stranger has hit the exact same firmware bug. Or you can crack the case and start probing. The first path works about 70% of the time. The second is where you actually learn anything, and it is the path a vendor-supported box actively steers you away from.
A self-built box is the opposite. Every choice is on you, which means every problem is on you too. That is the trade. The flip side is that the second time the same class of problem shows up, you already know the fix.
A year in, I have debugged boot loops, a degraded RAID array (a redundant storage setup where data is mirrored across multiple disks), and a thermal shutdown that turned out to be a $4 case fan. None of those would have taught me anything if I had been reading threads instead of running commands.
There is also the dollar angle. My out-of-pocket for this build was $110 for a CPU and $90 for a replacement motherboard. Everything else came from the parts bin. A comparable 4-bay NAS with disks would have run $400 to $600.
The parts bin as a design constraint
The platform I built on was AM4 (AMD’s CPU socket that covers many generations of Ryzen processors). That socket is now the cheapest place to build a small server because every supporting component has been on the market long enough that prices have settled.
Core inventory for the build:
- An entry-level AM4 motherboard pulled from my previous rig.
- A four-core Ryzen chip with integrated graphics, bought new for about $110.
- A single 8GB stick of DDR4.
- A 512GB NVMe SSD (a fast solid-state drive that plugs directly into the motherboard) harvested from an old laptop.
- A workstation GPU (a card originally sold for professional workloads, picked up used) that handles video transcoding without taxing the CPU.
- A budget PSU (power supply unit) that came with my old case.
Total spend for the project was $220 in new money plus roughly $250 in leftovers. The leftovers are not free in any real accounting sense, but they were otherwise sitting in a drawer, so the marginal cost to me was effectively zero.
If you do not have a parts bin, the math changes. Budget another $200 to $300 for used components on eBay. You can still come out ahead of a pre-built NAS, but the gap closes.
The motherboard swap I should have done first
I started with a basic A320M board that I already owned. I ran it for about a week before the layout started bothering me. One NVMe slot, fewer USB ports than I wanted, no path to add faster networking or Wi-Fi without giving up the GPU slot. The board worked. It was just tight.
The replacement was a B550M board that cost me around $90. Three things made the upgrade worth the cash:
- Room to drop in a second NVMe drive later when storage pressure builds.
- Proper PCIe expansion for a faster network card or wireless without sacrificing the GPU slot.
- Enough headroom on power delivery that the CPU is not pegged at its limit when several streams are transcoding.
If I were starting over, I would skip the A320M detour entirely. The price gap to a B550M is small, and the layout flexibility is exactly the kind of thing you only appreciate when you actually need it.
The bill that surprised me
The biggest win was the electricity meter. This machine idles around 30 to 40 watts when it is just running Plex, a handful of containers, and a network-wide ad blocker. Under load, with hardware transcoding active, it pulls closer to 90 watts. That is less than most space heaters, and the box runs around the clock without anyone in the house noticing.
Compare that to the subscription alternative. A small object storage bucket plus a modest VPS (virtual private server, a rented slice of a remote machine) runs around $7 to $10 per month, or $84 to $120 per year. My annual electricity for this rig is under $30 at peak rates.
The break-even point landed somewhere in year two. After that, every month of running the box is money I would have spent on someone else’s infrastructure. That is the kind of return no SaaS (software as a service, a subscription you rent instead of buy) product can match.
Two cheap things I would change
Looking back, two small decisions would have made the build noticeably nicer.
First, the PSU I used was the cheapest thing lying around, and its fan is the loudest part of the build. A semi-modular unit (a power supply where only the cables you need are plugged in, reducing clutter) with a decent efficiency rating would have cost about $40 more and saved me the noise. That is the single best $40 I did not spend.
Second, I added the workstation GPU on day one. In hindsight, the integrated graphics on the chip would have handled my library for the first month, and I would have learned faster whether hardware transcoding was actually necessary. Adding the card later is a five-minute swap. Adding it on day one locked me into a decision I had not yet earned.
Neither of these is a deal-breaker. They are both lessons you only learn by living with the box for a while.
Trade-offs
A spare-parts build is not free in time. The first assembly took an afternoon. The motherboard swap took another. Tuning fan curves and boot order ate a Saturday of fiddling. If your weekends are tight, the time cost is real.
There is also the on-call tax (the implicit obligation to fix things when they break at inconvenient hours). A pre-built NAS has a support contract. A self-built server has you. When the boot drive died at 2 AM, I was the support contract.
In my case the trade worked out positive. The electricity savings paid back the new hardware in about two years, and the learning keeps paying back every time something goes sideways. Your numbers will look different if you do not have a parts bin, or if your free time is more limited than mine.
The migration from “spare parts in a drawer” to “running home server” took roughly four hours, spread across two weekends. The hardware was easier than I expected. The fan and BIOS tuning was harder than I expected. If you have never poked around inside a BIOS before, give yourself an extra hour.
If you have a parts bin and a free weekend, this is a clear win. If you have neither, look at a used compact desktop or a Synology instead.
What I would tell past me
If I could send a message back to the version of me staring at a basket of leftover components, I would say three things.
- The hardware is the cheapest part of this project. The real time goes into BIOS settings, fan curves, and figuring out which containers actually need to run. Plan for that.
- Motherboard choice matters more than CPU choice for a server. A flexible board lets the box grow. A cramped one boxes you in on day one.
- Start without the dedicated GPU. You will know within a month whether you need it. Adding it later is a five-minute swap. Removing it after a year is just as easy.
Spare parts sitting in a drawer are not waste. They are an invitation to build something you will actually understand.