
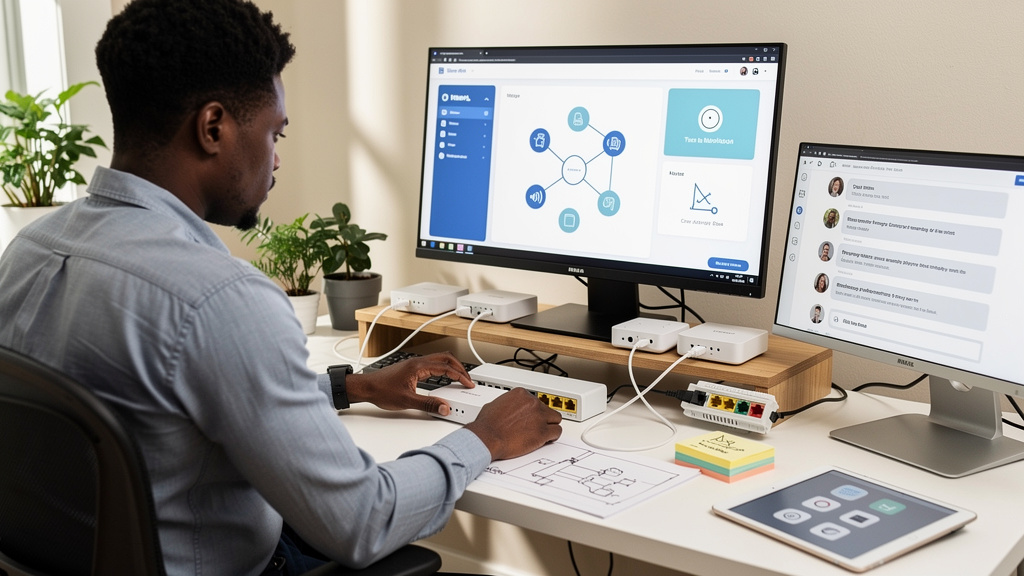
There is a small, undocumented behavior in Starlink’s mesh hardware that I keep recommending to anyone stuck with a wired device on the wrong side of a thick wall. Once you understand the trick, you can put a real LAN socket across the house without running a cable. The Starlink help pages do not describe it. The forum threads mostly miss it. The hardware does not have a setting for it. The whole thing depends on how the mesh pairing is initiated, which is why it is easy to overlook.
This is an explainer of how it works, why it works, and where it is worth using.
What Starlink actually ships in a Mini kit
The Starlink Mini is a small dish that doubles as a Wi-Fi router. Some Mini kits include a second box called the UTR-251 Router Mini, which is the mesh extender Starlink sells for broader Wi-Fi coverage. When you buy a kit that includes the extender, the official setup flow assumes you will wire the extender back to the Mini with an Ethernet cable and use the extender to spread Wi-Fi further.
That is the supported configuration. It is the one Starlink tested, the one the help pages describe, and the right choice for most households.
What the help pages do not mention is that the extender’s LAN port behaves like a bridged LAN socket regardless of whether the uplink is wired or wireless. If you pair the extender as a mesh node and let it join the existing Wi-Fi, the LAN port becomes part of the same subnet as the Mini. Anything you plug into that port gets a DHCP address from the Mini and talks to the rest of the household network without any extra configuration.
In other words: the mesh backhaul can carry real LAN traffic to a wired Ethernet port. The trick is purely in how you pair the extender.
How to set it up
There are two ways to pair a UTR-251: as a wired node (the supported flow), or as a wireless mesh node (the unsupported flow that delivers the bridge behavior).
The wireless mesh flow is what I use. I factory-reset the UTR-251 by holding the reset pin until the light confirms a clean state, then place the node on a shelf within Wi-Fi range of the Mini and plug in only the USB-C power cable. There is no Ethernet uplink, no switch, no config file to write. Then I open the Starlink app on my phone. The app sees the extender sitting on the network, offers to pair it as a mesh node, and I tap accept.
That is the entire setup. The extender joins the existing Wi-Fi with the same SSID as the Mini, which is the polite behavior I want: no second network to think about, no competing DHCP server, no manual routes. Once it is paired, the LAN port on the back begins acting like any other socket on the household network.
I plug a Cat5e cable into the port, run the cable across the room to my desktop, and the desktop pulls an IP address from the same DHCP server the Mini is running. The Starlink app’s network map confirms what is happening: the Mini and the UTR-251 are connected wirelessly to each other, and the node’s Ethernet port is listed as a LAN bridge.
Two devices on the same subnet get a long list of conveniences for free. Local file sharing works without any port forwarding. Casting and SMB file copies stop paying the latency tax of extra Wi-Fi hops. mDNS discovery, Wake-on-LAN, AirPlay speakers, and the small conveniences that quietly break across subnets all start working.
Why this is not in the help pages
Starlink’s documentation describes the configuration Starlink chose to support, which is the wired uplink flow. The UTR-251 will absolutely work that way, and for most households it is the right configuration. The help pages are not, however, a description of the hardware’s limits. They are a description of the configuration Starlink tested and is willing to stand behind.
A wireless mesh backhaul between a Starlink Mini and a UTR-251 carries real LAN traffic. The node’s Ethernet port, once the node has joined the mesh, behaves like a bridged LAN socket. The Mini’s DHCP server hands out addresses on that bridge. Devices on the bridge can talk to anything else on the household subnet without any extra configuration. None of this requires a wired uplink.
The forum threads I read before trying the experiment mostly argued about Wi-Fi coverage and missed the point. The interesting question was not whether the mesh extender had Wi-Fi. The interesting question was whether the LAN port bridged onto the gateway’s subnet. The answer is yes.
Trade-offs
Throughput is the first cost. A wireless mesh backhaul will not move bytes as fast as a dedicated wired link between two nodes. For web browsing, video calls, and the usual file copies, you will not notice. For sustained multi-gigabyte transfers to a NAS on the other side of the mesh, you might. A real cable still wins the throughput contest.
Wired clients also depend on the wireless link staying healthy. If the extender loses its connection to the gateway, the Ethernet port on the node goes down with it, because the port is a bridge off the wireless backhaul. For a desktop that already has Wi-Fi as a fallback, that is fine. For a server you want reachable around the clock, it is less fine.
Behavior is tied to Starlink’s mesh, not to general networking. This is not an open standard, and the LAN bridge on the UTR-251 exists because of how Starlink’s mesh handles nodes. If you change ISPs or move to a different mesh system, do not assume the same port keeps acting like a LAN bridge. Treat this as a feature of the current setup, not a permanent promise.
If you do not already own a UTR-251, the cost math is different. Buying one to bridge a wireless mesh to Ethernet is a niche purchase. Powerline adapters, MoCA over coax, or an outdoor-rated cable run might serve you better, depending on the house.
Where the trick earns its keep
Most people who can run a real cable should run a real cable. The mesh extender trick earns its keep in a narrower set of situations.
Renters usually cannot drill. If the lease forbids it, the mesh trick leaves the walls untouched and the landlord happy.
Older buildings with masonry or plaster walls are the obvious case. Twenty inches of stone is not a problem for Wi-Fi and is a serious problem for a drill.
Anyone who already has a Starlink mesh extender sitting in a drawer should try it before spending money. The hardware cost is zero and the time cost is small.
If none of those apply, the trick is overkill. Powerline adapters, MoCA over coax, or a real cable run will probably serve you better.
What I would tell past me
Four things, in order of importance.
- Do not confuse “officially unsupported” with “impossible.” Tested setups are not laws of physics. The help pages describe the supported configuration, not the limit of what the hardware can do.
- Pick the right question to ask. The interesting question is whether the LAN port bridges onto the gateway’s subnet, not whether the mesh extender has Wi-Fi. Most forum threads argued about coverage and missed the point.
- Verify the bridge before you commit to the cable. A LAN socket on a different subnet is just a fancy Ethernet jack. The Starlink app’s network map is the easiest way to confirm what is bridged to what.
- Treat the obstacle as the constraint. When the obstacle is the wall, the network plan has to fit the wall. The mesh-to-Ethernet bridge is one workable answer when the alternative is a contractor.
The bigger lesson is the one I keep relearning. A small, reversible experiment almost always beats reading the docs harder. Try this before committing to anything more permanent. If the Starlink app pairs the node and the LAN port lights up, you have just saved yourself a drilling project. If it does not, you have lost about ten minutes and a factory reset, which is a cheap experiment either way.